Figure 3-25.—Detailed drawing of a clevis.
detail view. A detail view shows part of a drawing in
the same plane and in the same arrangement, but in
greater detail to a larger scale than in the principal
view.
Figure 3-25 shows a relatively simple detail
drawing of a clevis. Study the figure closely and apply
the principles for reading two-view orthographic
drawings discussed earlier in this chapter. The dimen-
sions on the detail drawing in figure 3-25 are conven-
tional, except for the four toleranced dimensions
given. In the top view, on the right end of the part, is
a hole requiring a diameter of 0.3125 +0.0005, but
no – (minus). This means that the diameter of the hole
can be no less than 0.3125, but as large as 0.3130. In
the bottom view, on the left end of the part, there is a
diameter of 0.665 ±0.001. This means the diameter
can be a minimum of 0.664, and a maximum of 0.666.
The other two toleranced dimension given are at the
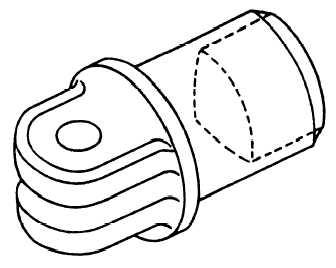
left of the bottom view. Figure 3-26 is an isometric
view of the clevis shown in figure 3-25.
Figure 3-26.—Isometric drawing of a clevis.
3-9


