CHAPTER 3
PROJECTIONS AND VIEWS
When you have read and understood this chapter,
you should be able to answer the following learning
objectives:
Describe the types of projections.
Describe the types of views.
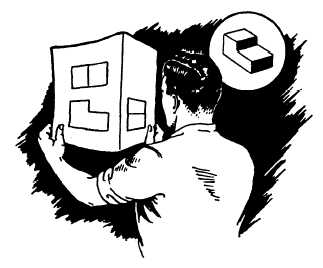
In learning to read blueprints you must develop
the ability to visualize the object to be made from the
blueprint (fig. 3-1). You cannot read a blueprint all at
once any more than you can read an entire page of print
all at once. When you look at a multiview drawing,
first survey all of the views, then select one view at a
time for more careful study. Look at adjacent views to
determine what each line represents.
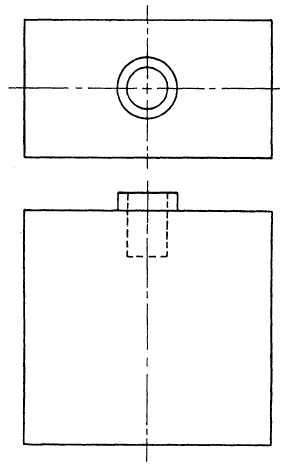
Each line in a view represents a change in the
direction of a surface, but you must look at another
view to determine what the change is. A circle on one
view may mean either a hole or a protruding boss
(surface) as shown in the top view in figure 3-2. When
you look at the top view you see two circles, and you
must study the other view to understand what each
represents. A glance at the front view shows that the
smaller circle represents a hole (shown in dashed
lines), while the larger circle represents a protruding
boss. In the same way, you must look at the top view
to see the shape of the hole and the protruding boss.
Figure 3-1.—Visualizing a blueprint.
3-1
You can see from this example that you cannot
read a blueprint by looking at a single view, if more
than one view is shown. Sometimes two views may
not be enough to describe an object; and when there
are three views, you must view all three to be sure you
read the shape correctly.
PROJECTIONS
In blueprint reading, a view of an object is known
technically as a projection. Projection is done, in
theory, by extending lines of sight called projectors
from the eye of the observer through lines and points
on the object to the plane of projection. This procedure
will always result in the type of projection shown in
Figure 3-2.—Reading views.


